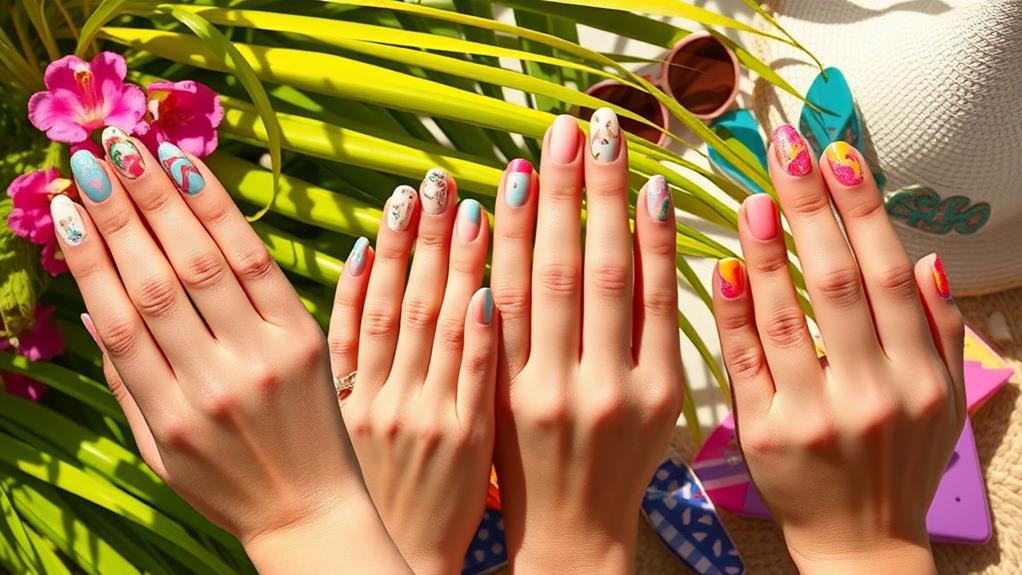
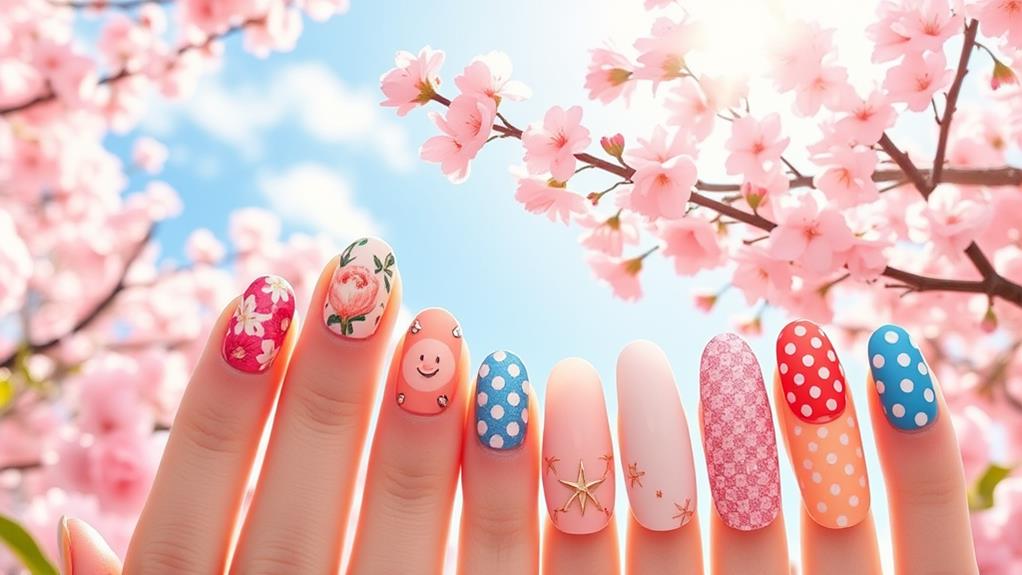
As June rolls in, it's time to refresh your nail game with designs that capture the essence of summer. You might consider trying Tropical Paradise Nails or a Sunset Ombre, both of which offer a vibrant way to express your style. If you're leaning towards something playful, fruity patterns and polka dots could be the perfect fit. Alternatively, if elegance is your aim, floral accents and minimalist designs can elevate your look. Curious about how to choose the right design for your summer adventures? Let's explore these stunning ideas further.
Tropical Paradise Nails
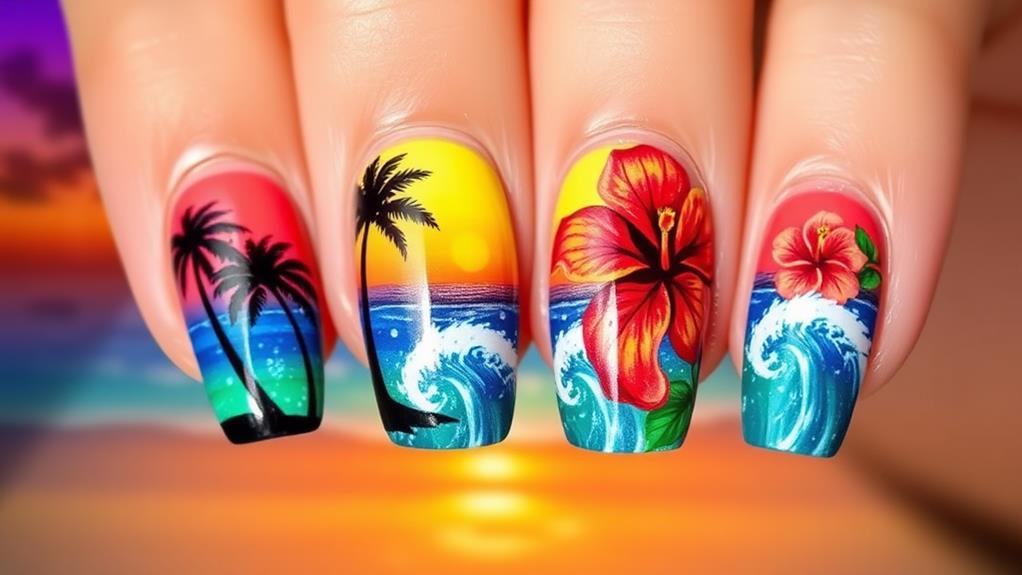
When you think of summer, vibrant colors and sunny vibes often come to mind, and Tropical Paradise Nails perfectly capture that essence. Imagine your nails looking like a fun beach party! You can go wild with bright oranges, yellows, and blues to create a look that screams summer joy. Think about adding some palm trees or little sun designs for that extra flair. It's like having a mini vacation right on your fingertips!
Getting Tropical Paradise Nails is super easy. Start with a shiny base coat to make those colors pop. Then, choose your favorite tropical shades and paint each nail a different color. You could even try an ombre effect, blending two or three colors together.
Don't forget to add some sparkle! A little glitter can make your nails shine like the summer sun.
And here's a fun tip: if you mess up, don't stress! Just laugh it off and turn a mistake into a unique design. Tropical Paradise Nails are all about creativity and fun.
Floral Accents
Floral accents can instantly elevate your nail game, adding a touch of elegance and charm to any summer look. You don't need to be a nail artist to create stunning floral designs. With a little practice, you can turn your nails into a blooming masterpiece!
Start by choosing a color palette that speaks to you. Soft pastels or bold brights can both work beautifully. Use a base coat to protect your nails, then paint them with your favorite color.
Once that's dry, it's time for the flowers! You can use a dotting tool or a small brush to create petals. Think of simple shapes, like five dots arranged in a circle—easy peasy!
Don't forget to add some leaves for that extra pop! Just a few strokes in green can make your flowers come alive. If you want to be adventurous, try layering different designs on each nail. It's like a garden party on your fingertips!
Finish with a top coat to seal your artwork and add shine. Now you're ready to show off your fabulous floral nails! Trust us, everyone will be asking where you got them!
Sunset Ombre
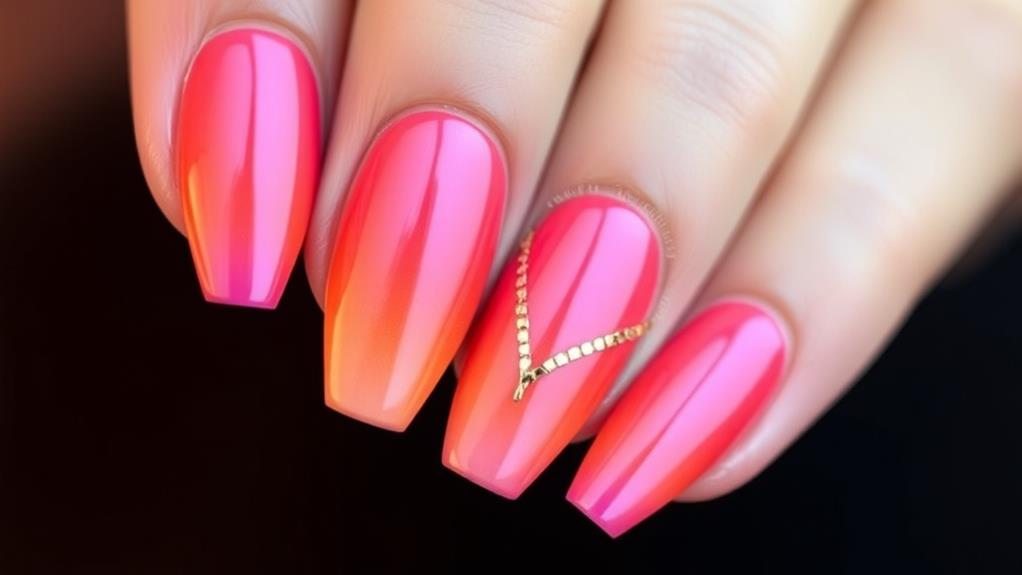
As the sun sets, creating a stunning sunset ombre on your nails is a perfect way to capture that breathtaking moment. This nail design mimics the beautiful colors of a sunset, blending shades of orange, pink, and purple. It's not just pretty; it's fun to do too!
To start, grab your favorite nail polishes in those sunset hues. You'll need a light base coat, a couple of vibrant colors, and a makeup sponge.
First, paint your nails with the base coat. Once that's dry, apply the colors on the sponge in stripes. Then, gently dab the sponge on your nails, blending the colors as you go. It's like painting a mini sunset right on your fingertips!
If it gets a bit messy, don't worry! Just use a tiny brush or some cotton swabs dipped in nail polish remover to clean up around your nails.
Nautical Stripes
How can you bring a touch of the sea to your nails? Nautical stripes are the perfect way to do just that! Imagine bright blues, crisp whites, and bold reds dancing across your fingertips. It's like having a tiny beach vacation right on your hands!
To get started, you'll need a few colors. Grab some navy blue polish, white, and maybe a fun red for that classic seaside look.
Paint your nails a solid color, like navy, as the base. Once that's dry, use striping tape or a thin brush to create stripes. You can go with thick stripes or thin ones, depending on your mood. Don't worry if they aren't perfect; a little mess can add character!
For a fun twist, you might even add an anchor or a little sailboat on one or two accent nails. It'll give your look that extra nautical flair.
And remember, if you mess up, it's just polish! You can always start over. So, grab your colors, and let your nails sail into summer with these fabulous nautical stripes!
Fruity Patterns

Get ready to add a burst of color and fun to your nails with fruity patterns! These designs are perfect for summer and will make you feel like you're enjoying a sunny day at the beach. Imagine tiny watermelons, bright oranges, or juicy strawberries painted on your nails. It's like having a party on your fingertips!
You can start with a colorful base coat, like a revitalizing blue or sunny yellow. Then, use nail art brushes or dotting tools to create your fruity patterns. If you're feeling adventurous, mix and match different fruits on each nail. How about a pineapple on your thumb and cherries on your pinky? So cute!
Don't worry if you're not a nail artist. You can always use nail stickers or stencils to help you out. They make things super easy and fun!
Plus, fruity patterns look great with any outfit—whether you're rocking a casual dress or your favorite shorts.
Cool Pastel Shades
Cool pastel shades are a must-try for your nails this June! These soft, dreamy colors are perfect for summer and can really brighten up your look. Imagine rocking a lovely mint green or a baby blue while sipping on a revitalizing lemonade. Sounds cute, right?
Pastel shades aren't just pretty; they're super versatile too! You can wear them alone for a sweet, simple style, or mix and match them for a fun ombre effect. Think of a soft lavender fading into a pale pink—such a lovely combo!
Want to add a little flair? Try painting some tiny white daisies or stars on top of your pastel base. It's an easy way to make your nails pop without going overboard. Plus, it gives you that artsy vibe everyone loves.
If you're feeling adventurous, why not try a matte finish? It gives a unique twist to those pastel colors and makes them look oh-so-chic!
Bold Geometric Designs
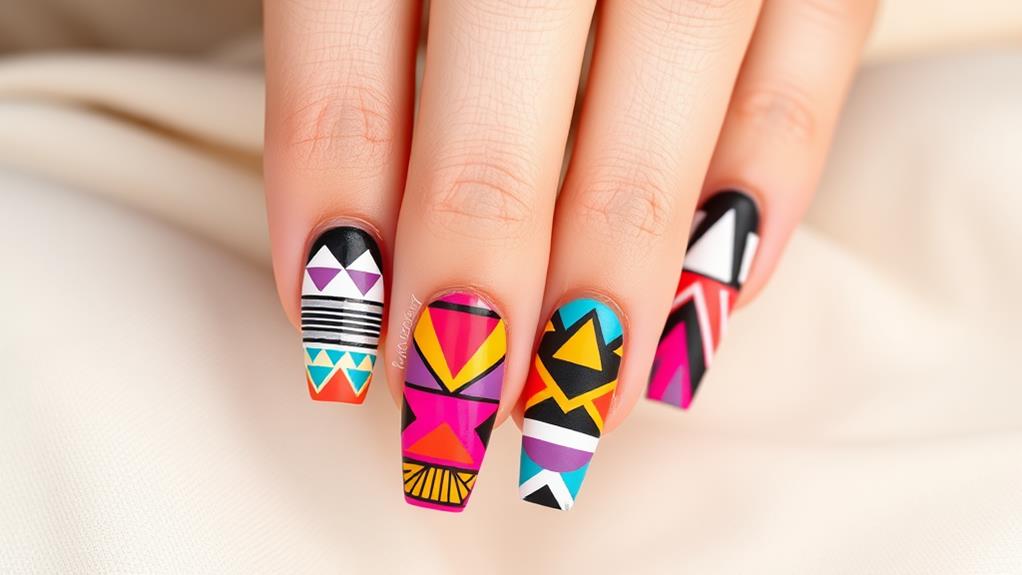
This June, bold geometric designs are taking center stage on nails, offering a striking contrast to the soft pastels of the season. If you're looking to make a statement, these eye-catching patterns are just the way to do it! Think sharp angles, triangles, and lines that pop. You can mix colors like electric blue with neon pink for a fun vibe, or go for black and white for a more classic look.
The best part? You don't need to be a nail art expert to pull this off. Start with a base coat in a solid color, then grab some tape to create those neat lines and shapes. Just remember, patience is key! Let each layer dry before moving on to the next.
You can even personalize it with your favorite colors or shapes that mean something special to you. Feeling adventurous? Try combining different geometric patterns on each nail for a playful twist!
With bold geometric designs, your nails won't only look fantastic but also show off your unique style. So, grab those nail polishes and get creative—you've got this!
Glittering Beach Vibes
Glittering beach vibes are the perfect way to embrace the summer spirit on your nails. Imagine stepping into summer with a nail design that sparkles like the sun on the ocean!
Start by choosing a bright, sandy base color—think soft beige or light coral. Then, pick a dazzling glitter polish that reminds you of sun-kissed seashells.
You can create a fun ombre effect by blending the glitter from your tips down toward the base. It's like a mini sunset right on your fingertips! For an added twist, consider adding tiny starfish or seashell decals. These little details can really make your nails pop and get everyone talking.
Don't forget to seal your design with a clear top coat, so your glitter doesn't go swimming away. If you're feeling extra creative, you could even use a matte finish for the base and add glossy glitter on top.
This mix of textures gives your nails a unique look that shines bright in the summer sun. So, get ready to show off those sparkling beach vibes, because your nails are about to steal the show on your next beach trip!
Rainbow Swirls

After soaking up those glittering beach vibes, it's time to embrace a playful twist with rainbow swirls on your nails. This design is all about fun and creativity, making your fingertips look like a colorful masterpiece!
You'll love how easy it's to create these vibrant swirls that can brighten up any day. Start by painting your nails with a white or light base coat. This will help those rainbow colors pop!
Then, using a small brush or a dotting tool, dip into your favorite nail polish colors. Think bright reds, sunny yellows, and deep blues. Apply the colors in a swirling motion, blending them together for a beautiful gradient effect.
Don't worry if it gets a little messy; that's part of the charm! Once you're happy with your swirls, seal the design with a clear top coat to make it shine.
Let your nails dry completely, and soon you'll be flaunting a fabulous rainbow that'll make everyone smile. Trust us, these nails are sure to spark joy and maybe even a few compliments!
Minimalist Line Art
Minimalist line art nails are a chic way to express your style with just a few simple strokes. Imagine elegant designs that use clean lines and shapes to create stunning visuals on your fingertips. You don't need to be a nail artist to pull off this look. Just grab a thin brush and some nail polish, and you're ready to go!
You can start with a solid base color like white or nude, which makes the line art pop. Then, using a contrasting color, draw simple shapes like hearts, stars, or even abstract designs. Keep it simple, and don't stress about perfection—after all, the beauty of minimalist art is its simplicity!
If you want to add a little more flair, try tiny dots or delicate curves around your designs. It's like doodling, but on your nails!
Plus, minimalist line art is perfect for any occasion, from casual outings to fancy events. You'll feel stylish and put together without spending hours at the salon.
Playful Polka Dots

Nail art can be both simple and fun, and playful polka dots are a perfect way to add some whimsy to your look. You can easily create this charming design at home with just a few supplies. All you need is your favorite nail polish, a dotting tool or a toothpick, and a steady hand!
First, pick a base color that makes you smile. Soft pastels are great for a sweet vibe, while bold colors can really make those dots pop.
Once your base coat dries, grab your dotting tool and dip it into a contrasting polish. Gently touch it to your nails to create dots of different sizes. You can go for a classic look with evenly spaced dots, or get creative and mix sizes for a fun, playful effect.
If you're feeling extra adventurous, try combining different colors! Just make sure to let each layer dry before applying the next.
Once you're happy with your polka dots, seal your masterpiece with a clear top coat. Now, you've got whimsical nails that are perfect for any June occasion! So go ahead and show off your playful polka dots!
Neon Brights
If you want to make a bold statement this June, neon brights are the way to go! These eye-popping colors are perfect for adding a splash of fun to your summer style.
Picture yourself rocking bright pinks, electric greens, and vibrant yellows on your nails. It'll feel like a party on your fingertips!
To get started, choose one or two neon shades that speak to you. You can go for a full neon manicure, or mix it up with some fun designs.
Think stripes, cheetah prints, or even some sparkly accents. If you're feeling adventurous, try a gradient effect where the colors blend into one another. It's a great way to showcase your creativity!
Don't forget to use a good base coat to protect your nails and make those colors pop!
And a top coat will give your nails that shiny finish while helping your design last longer. You'll be turning heads wherever you go.
Abstract Watercolors
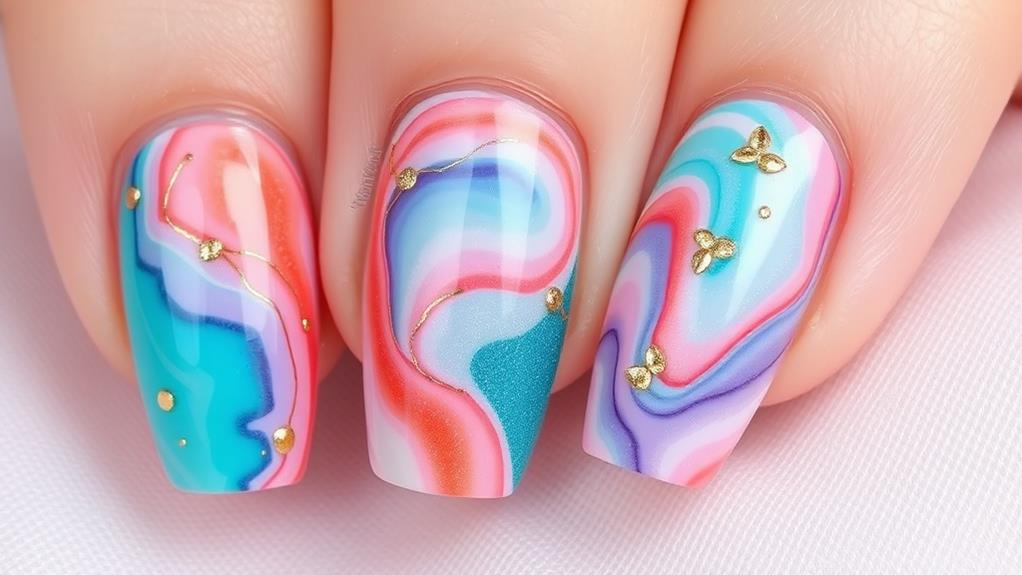
Often, abstract watercolors create a stunning visual impact on your nails, blending hues in a way that mimics the beauty of a watercolor painting. This design isn't just pretty; it's all about expressing your creativity! You can mix colors like blues, pinks, and yellows to create dreamy patterns that look like a piece of art right on your fingertips.
To get started, you'll need a few nail polishes in different colors, a base coat, and a top coat. Apply the base coat first to protect your nails.
Then, take a small brush or even a makeup sponge and dab on your chosen colors. Don't worry about making it perfect! The beauty of abstract watercolors is in the fun, messy look. You can swirl the colors together or layer them for depth.
Once you're satisfied, let it dry, and finish with a shiny top coat to seal the design. You'll feel like a nail artist!
Plus, the compliments you'll get will be worth every brush stroke. So, immerse yourself in the world of abstract watercolors, and let your nails be your canvas!
Classic French Twist
After exploring the vibrant domain of abstract watercolors, it's time to appreciate the timeless elegance of the Classic French Twist. This nail design is like a little black dress for your fingertips—always in style and perfect for any occasion.
The Classic French Twist features a clean, white tip on a natural or nude base, giving your nails a fresh and polished look.
To achieve this chic design, you'll need a steady hand and a little patience. Start by applying a base coat to protect your nails. Once that's dry, paint your nails with a nude polish.
After that, take a white polish and carefully create a curved line at the tip of each nail. If you're feeling fancy, you can add a twist by using a metallic or pastel color for the tips instead!
Don't forget to seal everything with a top coat to make it shine. And if you mess up? No worries! Just grab some polish remover and try again.
The Classic French Twist is all about elegance, so have fun with it! You'll love how effortlessly classy your nails will look.
